Granite is an incredibly durable and long-lasting stone. It’s easy to clean and can stand up to almost anything your family can throw at it. All you need to do in order to keep it in tip-top shape is reseal it about once a year. This is a very simple process. We’ll walk you through all steps you need to make resealing a breeze.
Step 1: Clean and Clear
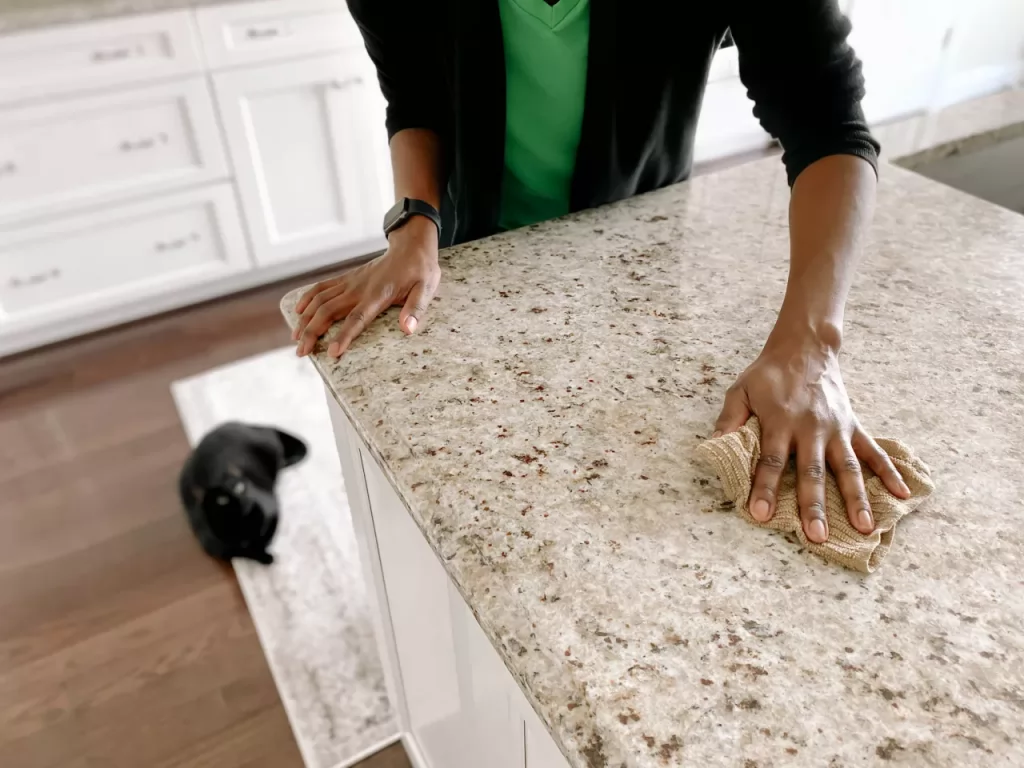
In order to reseal the granite, you need to be able to access the granite! Remove all small appliances or bathroom products. Then take some time to really clean your surface. Use a damp cloth and gentle cleaner to make sure there aren’t any crumbs or residue left on the counter. Check for build-up around sinks or other high traffic areas. You want to make sure there isn’t anything standing between the sealant and the granite.
Step 2: Create Sections
We recommend mentally breaking up a counter into 4-6ft sections. It doesn’t have to be exact, but you don’t want to try and do an entire large countertop at once. You risk having one area dry before you’re able to process it because you’re working on another area.
Step 3: Add your Sealant
Pour the sealant on in a sufficient quantity to cover the section you’re working on. Then, using a clean cloth or paintbrush, spread the sealer around to reach all edges. Let it sit for 2-5 minutes, just until it starts to absorb into the granite, and then add a second coat. Allow that to dry for a few minutes as well
Step 4: Buff
Take a dry clean cloth and buff off any excess sealant. Keep working in circular motions until it is completely dry. This makes sure that the sealant doesn’t leave a hazy finish, which can be very difficult to remove once the product has solidified.
Step 5: Repeat to Reseal All Sections
Once you’ve buffed that first section to your liking repeat steps three and four in all the other sections. Take extra care around the edges to make sure you blend each section together.
Depending on the size of your kitchen or bathroom this whole process shouldn’t take more than 30-45 minutes, and most of that is just waiting for the coats of sealant to absorb. So enjoy practicing your “wax on, wax off” motions and get those counters back into tip-top shape!